
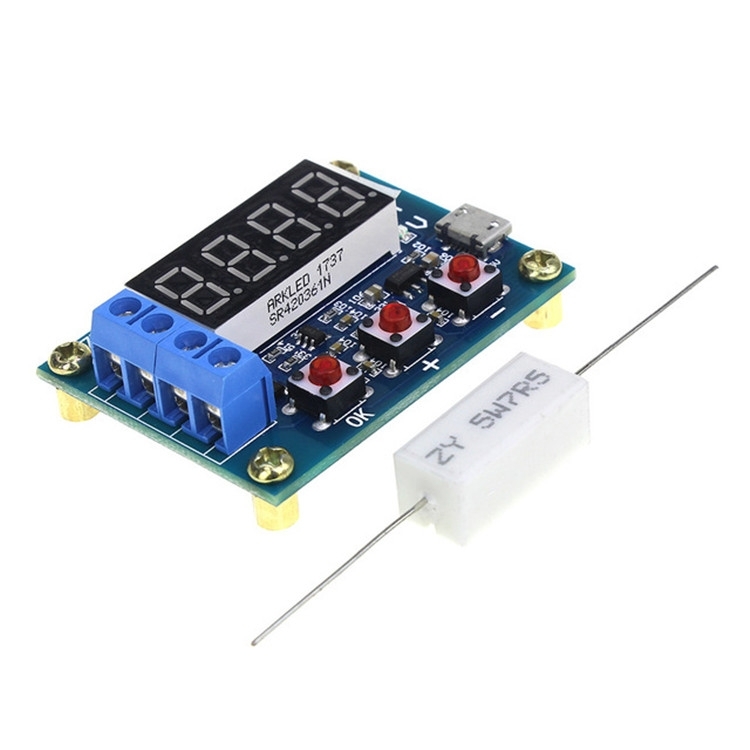
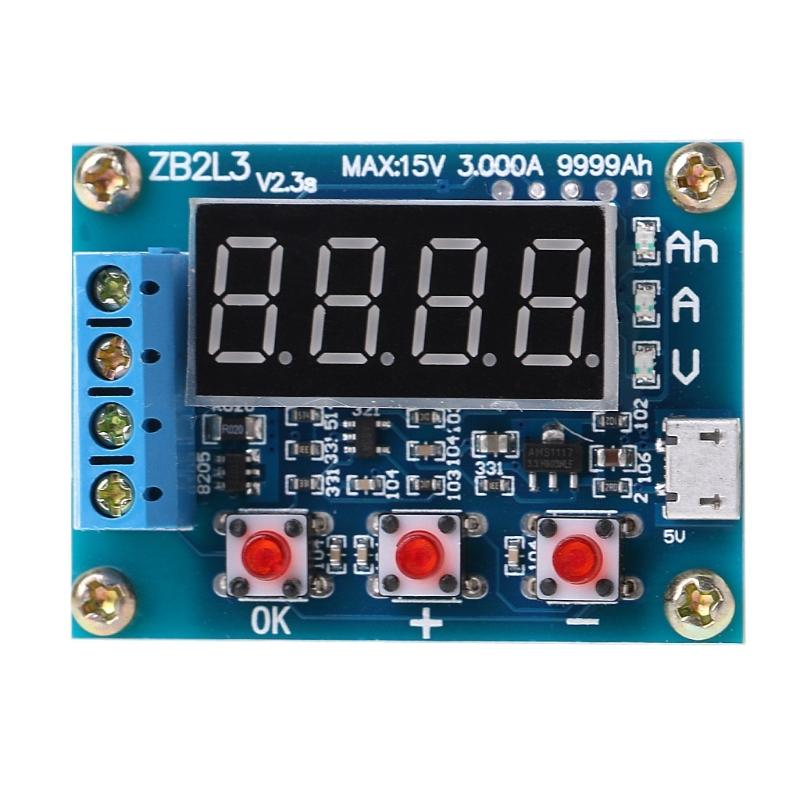
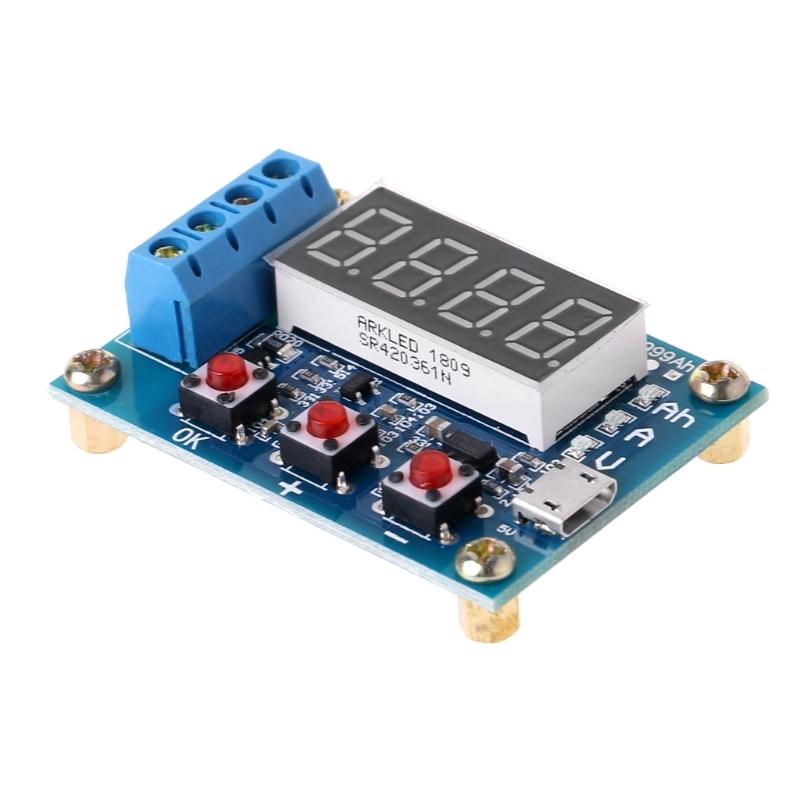
ZB2L3 Battery Capacity Tester 1.2-12V 18650 Li-ion Lithium Lead-acid Battery Capacity Meter Discharge Tester Analyzer


- Διαθεσιμότητα Προϊόντος
- Ερώτηση για το προϊόν
- Δωρεάν Αποστολή άνω των 80€
ΠΡΟΣΟΧΗ στο προϊόν αναφέρεται η διαθεσιμότητα η οποία αναλύεται ως εξής:
Σε απόθεμα: Αφορά τα προϊόντα που διαθέτουν έστω και ένα τεμάχιο υπόλοιπο.
Κατόπιν παραγγελίας: Αφορά τα είδη που δεν είναι διαθέσιμα και θα συμπεριληφθούν στην επόμενη προγραμματισμένη εισαγωγή εφόσον προχωρήσετε σε παραγγελία. Χρόνος αποστολής της παραγγελίας σας 7-15 εργάσιμες ημέρες. Σε αυτό το διάστημα δεν συμπεριλαμβάνετε ο χρόνος αποστολής της μεθόδου αποστολής που έχετε επιλέξει.
Για να σας αποσταλεί άμεσα η παραγγελία σας επιλέξτε είδη με υπόλοιπο και ποσότητα μικρότερη ή ίση της διαθέσιμης.
Για αγορές άνω των 80,00 € (αξία ειδών με το ΦΠΑ) σας κάνουμε δώρο τα μεταφορικά.
Η προσφορά ισχύει μόνο για αποστολές την Ελλάδα, δεν αφορά τα έξοδα αντικαταβολής και δεν ισχύει για αποστολές Σαββάτου.
Η προσφορά ισχύει μόνο για αποστολές την Ελλάδα, δεν αφορά τα έξοδα αντικαταβολής και δεν ισχύει για αποστολές Σαββάτου.
Εάν η παραγγελία σας ξεπερνάει τα δύο κιλά (kg) τότε για κάθε επιπλέον κιλό υπάρχει επιβάρυνση 1,00€.
Περιγραφή
1. Module parameters:
- Power supply voltage: DC4.5-6V (micro USB interface)
- Working current: no more than 70mA
- Discharge voltage: 1.00V-15.00V Resolution 0.01V
- End voltage range: 0.5-11.0V
- Support through current: no more than 3.000A resolution 0.001A
- Voltage measurement error: less than 1% + 0.02V
- Current measurement error: less than 1.2% +-0.002A
- Battery capacity range: 9999Ah (1Ah = 1000mAh) 2.
2. When the value is large, it is switched by decimal point shift. When it is less than 10Ah, it will be displayed as X.XXX, when it reaches more than 10Ah, it will be displayed as XX.XX, and so on.
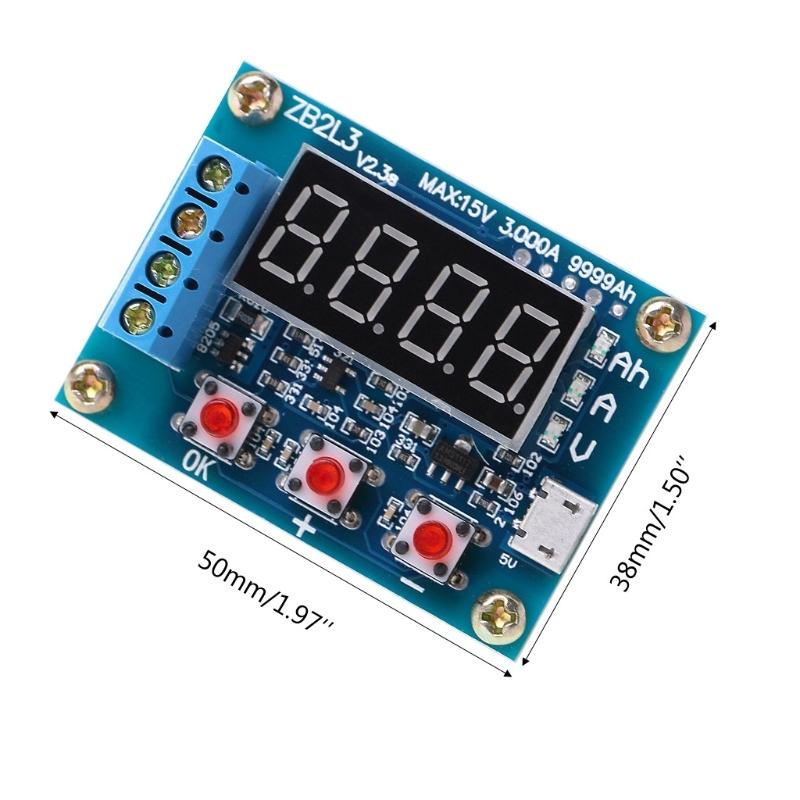
3. Circuit board size: 50mmX37mm
4. Finished product size: 50mmX37mmX17mm (Length X Width X Height, including copper foot height)
5. Weight of board and accessories: single board 28g (including copper pillar), two 5W ceramic resistors 9g, 50W resistor about 27g (including wire)
6. Note: In order to improve the voltage measurement accuracy, this circuit is specially designed with DC bias. When the terminal is connected nothing, a small voltage will be displayed, which does not affect the actual measurement. 0V) will display 0. If you want to understand the principle, you can check the superposition theorem in electrical engineering.
7. How to use:
- The battery under test should be fully charged first.
- Connect the positive pole of the battery under test to the input positive pole, and the negative pole to the negative pole of the input. Connect the load to the output positive pole and the output negative pole, and connect the tester micro USB with working power (not available for desktop or notebook USB power supply). The battery voltage is displayed at this time.
- To start the test directly, just press the “OK” button, the tester can automatically formulate a suitable termination voltage according to the full charge voltage of the battery, and will flash the display 3 times to start the test. Need to manually set the termination voltage, just press the "+" or "-" button to modify in the battery voltage display state, the termination voltage is displayed at the beginning of P, the back represents the voltage value, the resolution is 0.1V, after setting, press "OK" "start testing.
- After the test starts, the tester will turn on the electronic switch that controls the load. The test process data display will be displayed between the discharge capacity (Ah), the current discharge current (A) and the battery voltage (V). When the battery voltage reaches the set termination voltage, the tester cuts off the load control switch, the display data stays above the capacity (Ah) and flashes quickly with the corresponding indicator light, the displayed capacity is the actual discharge capacity of the battery, press it "OK" can stop the flashing and let the data display stably. Press the "OK" button again to restore to the state of just powering up and replace the battery to test the next section ...
8. Error code and meaning:
- Err1: The battery voltage is higher than 15V
- Err2: The battery voltage is lower than the set termination voltage
- Err3: The battery cannot bear the load discharge current or the line internal resistance is too large
- Err4: Current is too large (current exceeds 3.1A)
- Err5: Improper use or wiring error has caused the device to burn down and cannot be used (current sampling or control switch MOS burned)
9. Note: If the battery is reversed, when the load is turned on and the load current is large (about> 0.8A), the circuit switch tube may be damaged!
10. Secondary calibration operation: Press and hold three buttons to power on the tester at the same time, enter the calibration mode, first display the number of calibration records, then enter the formal calibration sampling program to display 0u0A, then short-circuit the input positive and negative poles and press "OK "Button to complete displaying J10u, apply a standard DC voltage of 10.00V between the input positive and negative electrodes, press the" OK "button, and then display J2.0A, apply to the output negative electrode (inflow direction) and input negative electrode (outflow direction) After a constant DC current of 2.0A, press the "OK" button once to complete the calibration. The tester will pre-check the calibration data. If the calibration data is reliable, it will display 4 calibration numbers in turn and then exit. If the pre-audit believes that the data is not reliable, discard the data and exit.


