Το καλάθι είναι άδειο
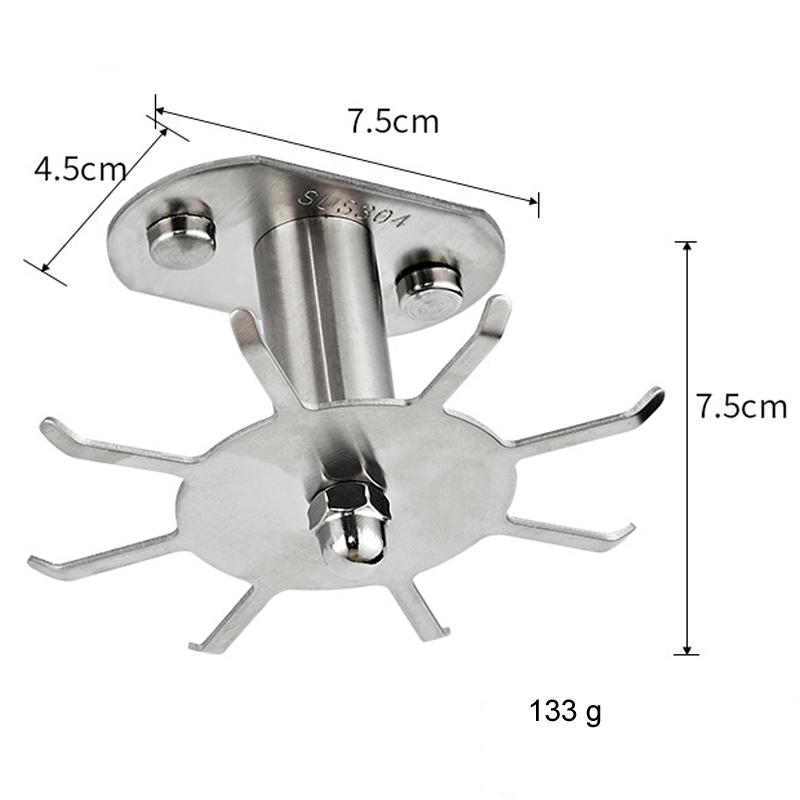
1. Υλικό: ανοξείδωτο ατσάλι
2. Τεχνολογία επεξεργασίας: στίλβωση / πλαστικός ψεκασμός
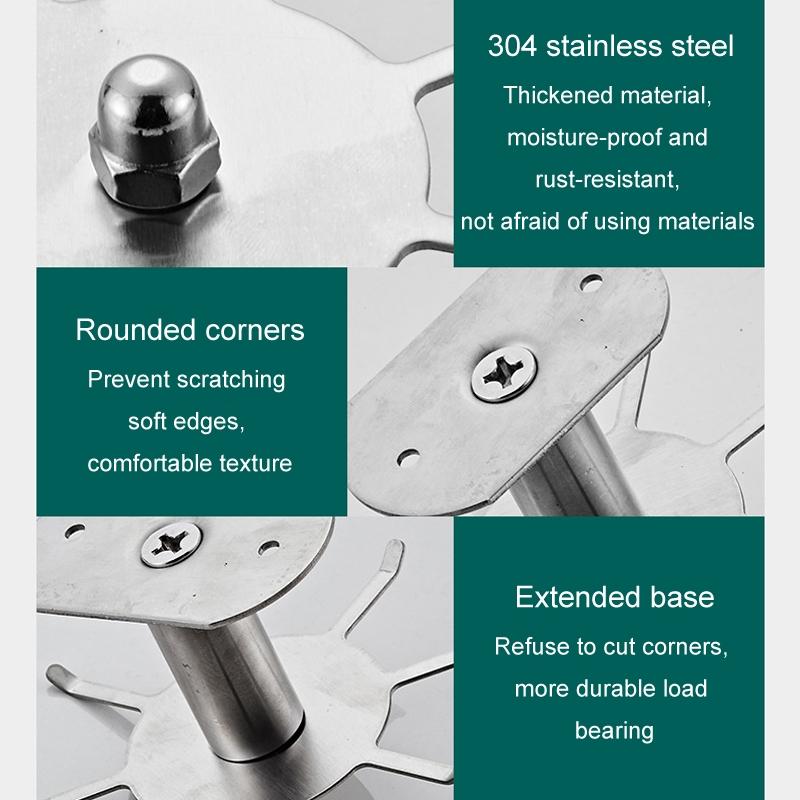
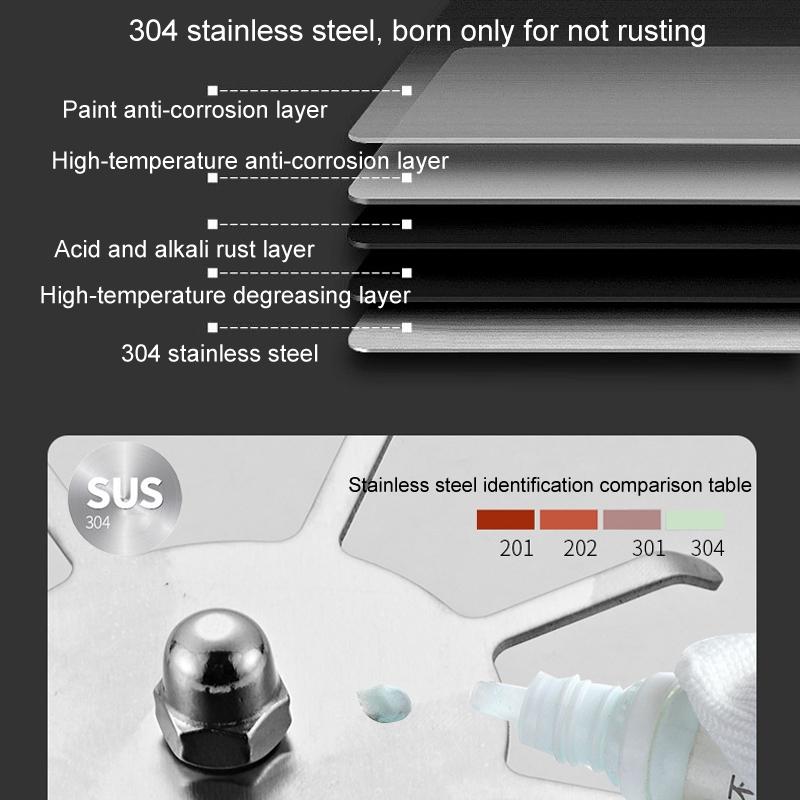
3. 304 ανοξείδωτο ατσάλι πυκνωμένο υλικό, ανθεκτικό στην υγρασία και στην σκουριά, μεγαλύτερη βάση, αρνούμενο να κόψει γωνίες, πιο ανθεκτικό φέρον φορτίο
4. Στρογγυλεμένες γωνίες για την αποφυγή γρατζουνιών στις μαλακές άκρες, άνετη υφή
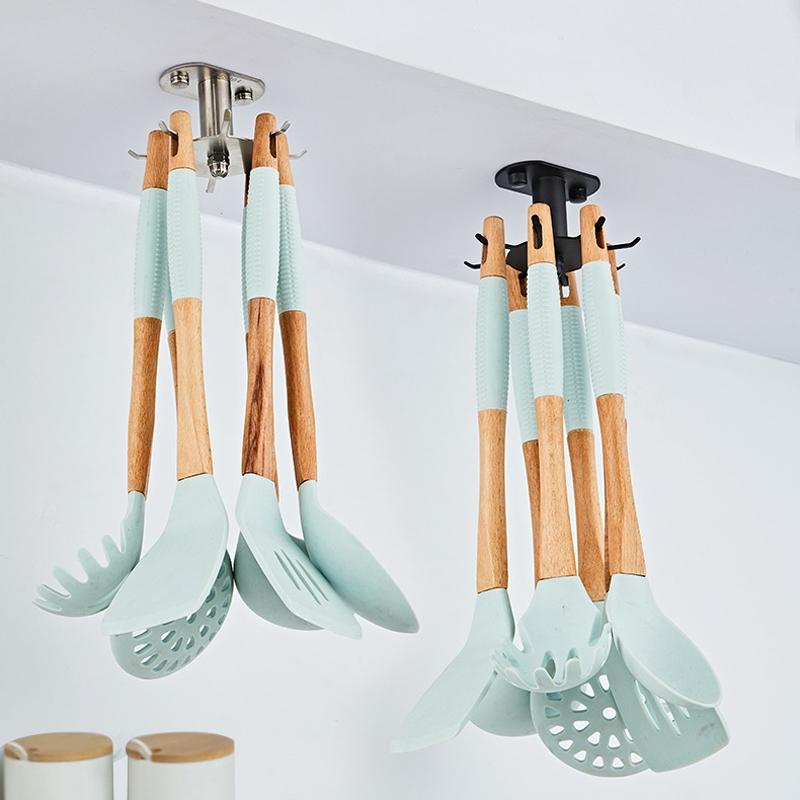
5. Βολικό στη χρήση, χρήση τοίχου κουζίνας, σχεδιασμός σχισμής, κοντά στον τοίχο, αποθήκευση κατσαρόλων και βουρτσών κουζίνας και άλλων αντικειμένων
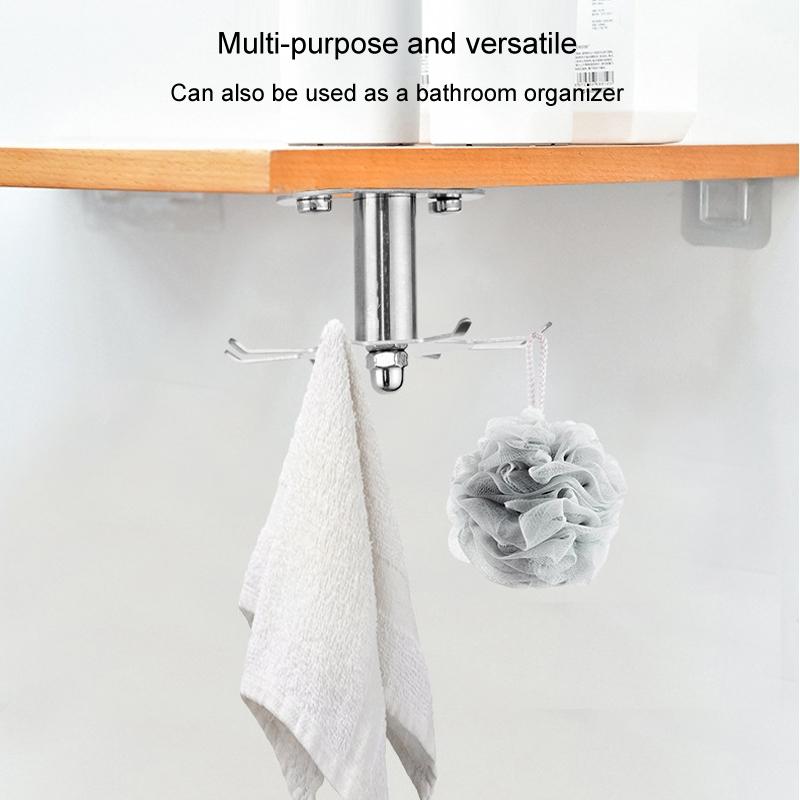
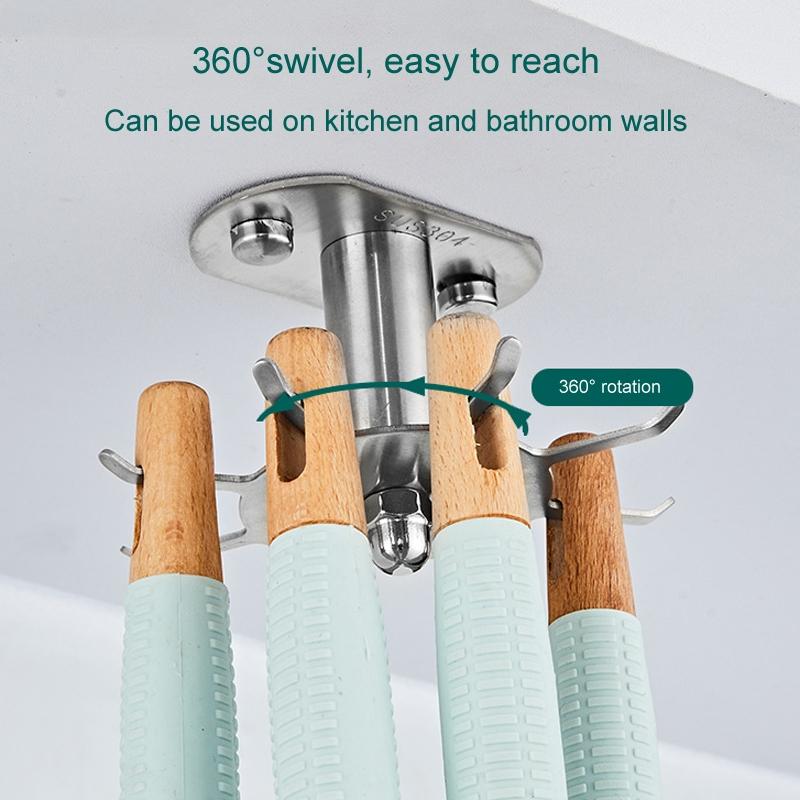
6. Περιστρεφόμενος σχεδιασμός 360 μοιρών, εύκολο να το σηκώσετε, κουζίνα, τοίχος μπάνιου μπορεί να χρησιμοποιηθεί, μια πολλαπλών χρήσεων, ευρύ φάσμα χρήσεων
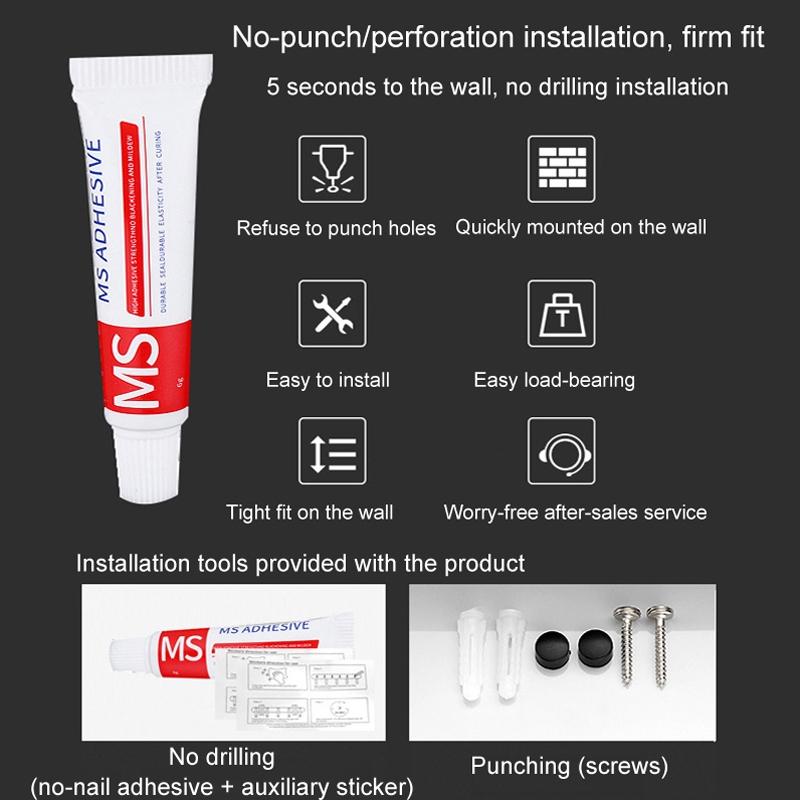
7. Δύο τρόποι εγκατάστασης, εγκατάσταση χωρίς τρύπα/διάτρητη εγκατάσταση, ταιριάζει σταθερά, εύκολη εγκατάσταση, εύκολη ανάληψη φορτίου
8. Βάρος: περίπου 133 g
9. Μέγεθος: περίπου 7,5 x 7,5 x 4,5 cm
10. Σημείωση: η παράδοση περιλαμβάνει μόνο ράφια, δεν περιλαμβάνει άλλα
Βήματα για την εγκατάσταση χωρίς διάτρηση
1. Καθαρίστε τον τοίχο, διατηρήστε τον στεγνό
2. Απλώστε ομοιόμορφα την κόλλα χωρίς καρφιά στη βάση
3. Κολλήστε το στον τοίχο στη σωστή θέση και πιέστε ομοιόμορφα το άγκιστρο
4. Τοποθετήστε το βοηθητικό αυτοκόλλητο
5. Περιμένετε 48 ώρες (2 ημέρες)
6. Αποκολλήστε το αυτοκόλλητο και η εγκατάσταση έχει ολοκληρωθεί
Βήματα τοποθέτησης διάτρησης
1. Σκουπίστε τον τοίχο καθαρό
2. Σημειώστε με μαρκαδόρο
3. Ανοίξτε τις οπές με τρυπάνι 6mm
4. Βάλτε τις βίδες επέκτασης
5- Τοποθετήστε το προϊόν και σφίξτε τις βίδες
6. Τοποθετήστε το διακοσμητικό καπάκι και ολοκληρώστε την εγκατάσταση

