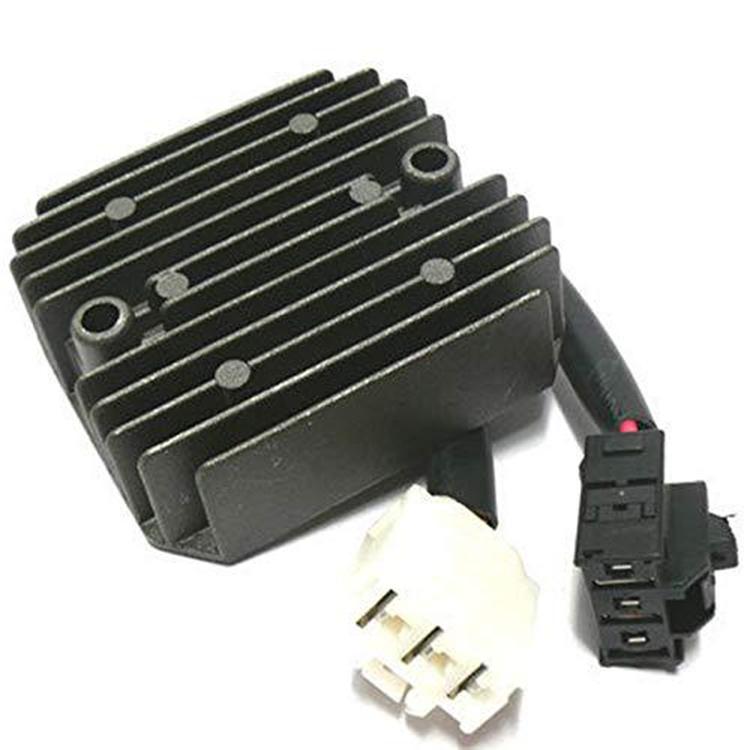
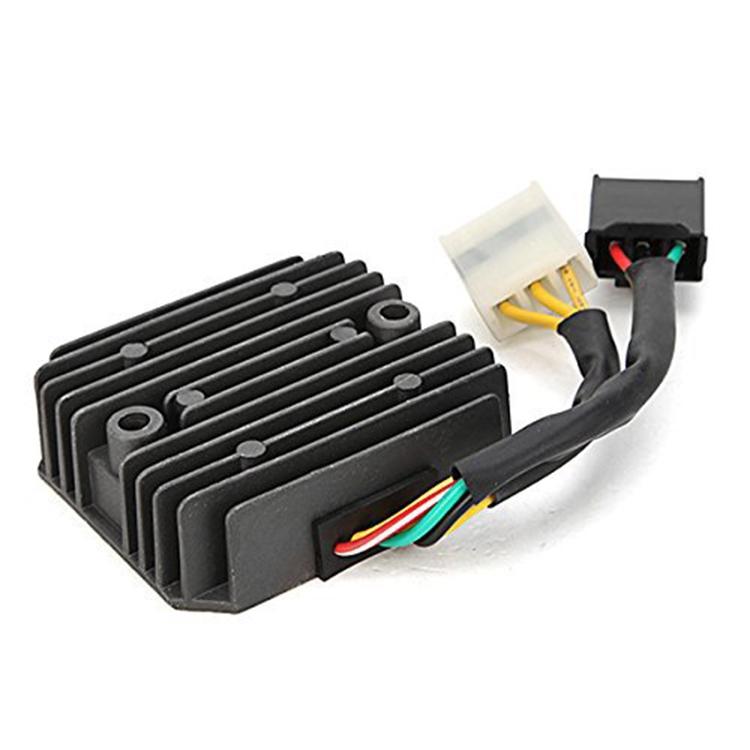
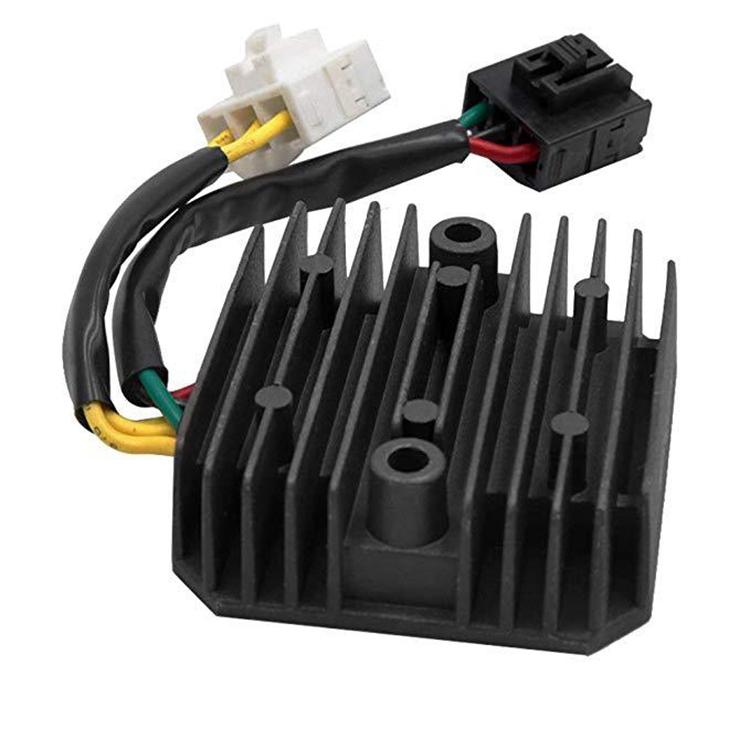
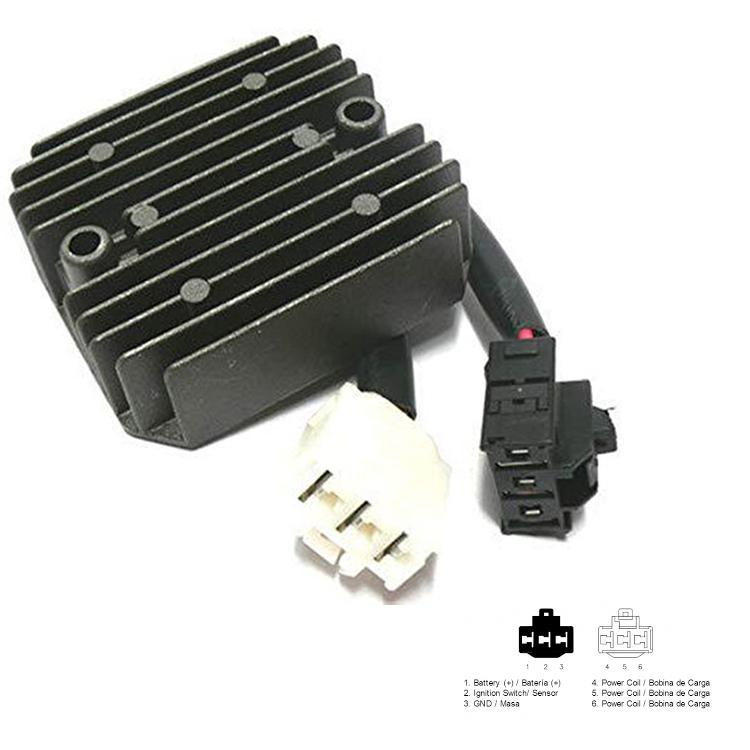
1. Βάρος: 300G
2. Τάση εξόδου: 14.5V
3. Ρεύμα εξόδου: 35A
4. Υλικό απαγωγής θερμότητας: κέλυφος απαγωγής θερμότητας από αλουμίνιο
5. Μήκος καλωδίου: 25CM
Εφαρμοστέα μοντέλα: Πίνακας 2.1:<Για Honda PES R 150 2008 2010 31600-KTF-641
Για Honda PES R 150 2008 2010 31600-KTF-641
Για Honda PES 125 2006 2010 31600-KTF-641
Για Honda PES 150 2006 2010 31600-KTF-641
Για Honda PS 125 2010 2012 31600-KTF-641
Για Honda SH 150 2005 2012 31600-KTF-641
Για Honda SH 125 2005 2012 31600-KTF-641
Για Reemplazo Shin Ngen SH541PA
Προφυλάξεις εγκατάστασης:
1. Ο ανορθωτής πρέπει να εγκατασταθεί σε χώρο με καλό εξαερισμό και καλή απαγωγή θερμότητας. Θα δημιουργηθεί υψηλή θερμοκρασία όταν ο ανορθωτής λειτουργεί και η κακή απαγωγή θερμότητας θα προκαλέσει βλάβη στον ανορθωτή
2. Τα βήματα εγκατάστασης του ανορθωτή είναι να συνδέσετε τη γραμμή εισόδου AC, οι θετικές και αρνητικές έξοδοι δεν είναι συνδεδεμένες, να εκκινήσετε την ατμομηχανή, να μετρήσετε τις θετικές και αρνητικές τάσεις εξόδου και όταν το εύρος τάσης είναι λογικό, να συνδέσετε τα θετικά και αρνητικά καλώδια και στη συνέχεια να ελέγξετε τα θετικά και αρνητικά της μπαταρίας ή του ανορθωτή Ελέγξτε αν η τάση στο τέλος είναι μέσα σε ένα λογικό εύρος. Εάν το εύρος τάσης είναι παράλογο, σταματήστε να το χρησιμοποιείτε και δώστε ανατροφοδότηση. Ολόκληρη η διαδικασία εγκατάστασης πρέπει να καταγράφεται και να αποθηκεύεται.
3. Σημειώστε ότι ο ανορθωτής πρέπει να είναι στενά συνδεδεμένος με το πλαίσιο κατά την εγκατάστασή του, το οποίο είναι καλό για την αγωγιμότητα της θερμότητας. Μπορείτε επίσης να προσθέσετε θερμικά αγώγιμη κόλλα μεταξύ του ανορθωτή και του πλαισίου
4. Δεν πρέπει να πιέζονται άλλα καλώδια μεταξύ του ανορθωτή και του πλαισίου
5. Θα πρέπει να υπάρχει μια ασφάλεια μεταξύ της θετικής εξόδου του ανορθωτή και της μπαταρίας για να αποτρέψει την υπέρταση από το να κάψει άλλες ηλεκτρικές συσκευές όταν ο ανορθωτής έχει υποστεί βλάβη.
ΠΡΟΣΟΧΗ στο προϊόν αναφέρεται η διαθεσιμότητα η οποία αναλύεται ως εξής:
Σε απόθεμα: Αφορά τα προϊόντα που διαθέτουν έστω και ένα τεμάχιο υπόλοιπο.
Κατόπιν παραγγελίας: Αφορά τα είδη που δεν είναι διαθέσιμα και θα συμπεριληφθούν στην επόμενη προγραμματισμένη εισαγωγή εφόσον προχωρήσετε σε παραγγελία. Χρόνος αποστολής της παραγγελίας σας 7-15 εργάσιμες ημέρες. Σε αυτό το διάστημα δεν συμπεριλαμβάνετε ο χρόνος αποστολής της μεθόδου αποστολής που έχετε επιλέξει.
Για να σας αποσταλεί άμεσα η παραγγελία σας επιλέξτε είδη με υπόλοιπο και ποσότητα μικρότερη ή ίση της διαθέσιμης.
Η προσφορά ισχύει μόνο για αποστολές την Ελλάδα, δεν αφορά τα έξοδα αντικαταβολής και δεν ισχύει για αποστολές Σαββάτου.
Εάν η παραγγελία σας ξεπερνάει τα δύο κιλά (kg) τότε για κάθε επιπλέον κιλό υπάρχει επιβάρυνση 1,00€.


